How Many Heads High Is a Fashion Figure Drawing
There are many different techniques that will help you learn to draw fashion figures. If you are more about designing clothes and you don't want to waste time on drawing figures, you can always download free basic figure poses and use tracing paper to develop them. But don't get discouraged right away because drawing your own fashion figures is not that hard and by learning couple of tricks, everyone can do it.
Fashion figures are measured in head lengths and head widths because it is the simplest way to control body proportions. The classic female figure measures 8 head lengths in height, while the female fashion figure can measure 9-10 head lengths. Typical fashion figures are illustrated with elongated legs and square shoulders. Proportions are the same for basic and fashion figure from head to the crotch, but extra length is added to the legs as this gives more dramatic, stylized look.
Using Ovals and Triangles
This technique uses simple blocks to represent the total body shape and its proportions and at the same time identifies balance and movement of the figure. First step is to figure out your balance line and head measurements and the next step is fleshing out (adding body shape to a figure).
Step 1

- Roughly divide the drawing paper into nine head lengths
- Decide your head length
- Mark ten evenly spaced horizontals, each representing one head length
- Number your lines from 1-9
- Pencil the intermediate lines for shoulders and hips (shoulders at 1 1/3 heads and hips at 3 1/4 heads)
- Form a vertical line that will represent your vertical balance line and center front
Step 2

- Draw an oval representing head in section one
- Next is the neck connecting head and shoulder line
- Depict the upper torso as an inverted triangle ( shoulders should be around 2 heads wide)
- Draw the lower torso as smaller inverted triangle (hips are usually around 1 1/3 head wide)
- Mark the arms as elongated ovals (one from shoulder to elbow and the other one from elbow to wrist)
- Draw the hands as diamond shape ( 3/4 head length)
- Sketch legs as elongated ovals (one hip to knee and another one from knee to ankle)
- Form feet as diamond shape (1 head length)
Step 3

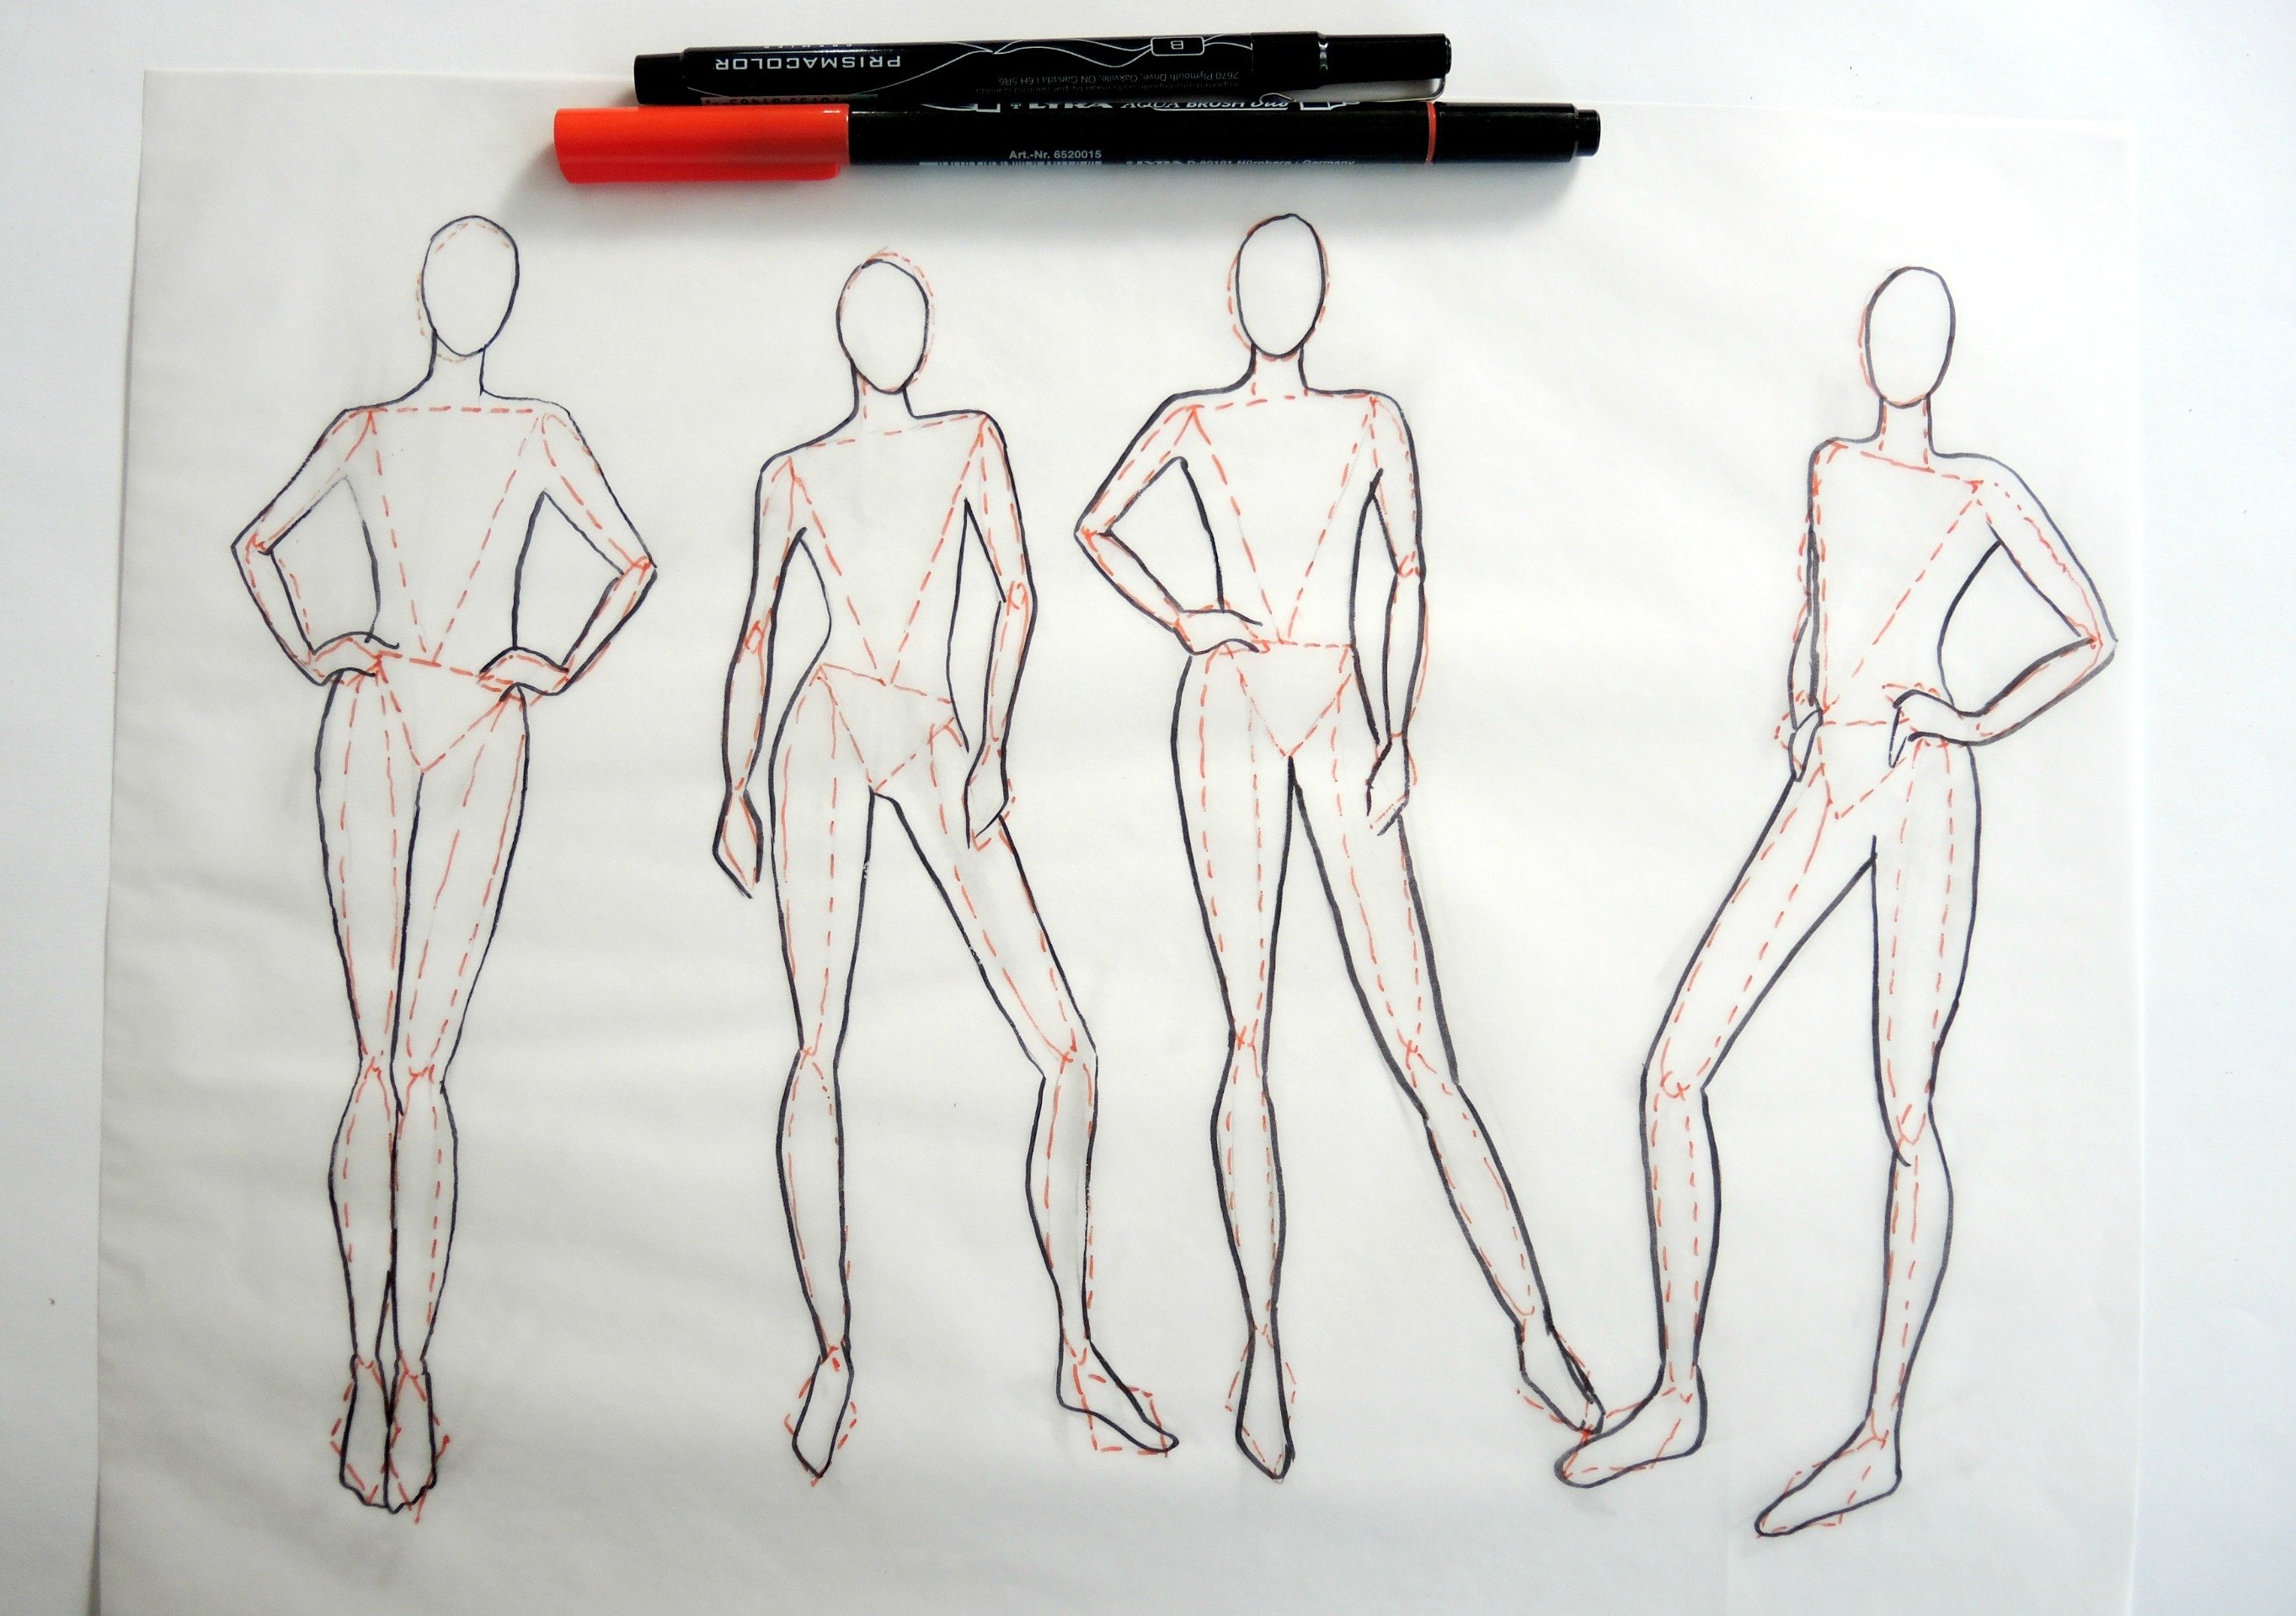
- Put a tracing paper over your oval/triangle template and using a fine liner trace over your template as you round out the body
- redraw the oval as an egg shape for the head with pointed end forming the chin
- draw a cylinder shape for neck
- draw a smooth line from neck and curve gently over the shoulder edge
- for upper and lower torso- start just above the bust line and taper to the waist and out to the hip and top of the thighs
- taper from the thigh to the knee and draw the inside of a led from the crotch tapering to the knee
- below the knee, the outer leg curves out to the calf muscle and narrows around the ankle;inside of the lower leg curves out for the calf muscle before it tapers to the ankle
- refine the diamond shape as feet
- for your upper arm, draw a cylinder from shoulder to elbow and underarm to elbow
- for lower arm draw a cylinder form elbow to wrist identifying arm muscles
- draw the hand from the wrist and refine diamond shape
The key to life and movement of fashion figures is vertical balance line. It ensures a figure is well balanced and it doesn't look like it is going to fall over. When shoulders and waist take on opposing angles, the pose will show movement and life.
Creating Body Movement
In a relaxed pose, balance line drops from the pit of the neck to the point where most of the body weight lies.High hip and shoulder slant poses will give a dynamic appearance to fashion figures.
Center front line is an extremely useful guideline that divides figure symmetrically into two equal parts. It helps draw the body and clothing in perspective as you create different fashion poses.
Popular Dynamic Fashion Poses

These poses are some of the most frequently used for fashion illustration. You can quickly sketch them using the oval and triangle technique and they don't have to be perfect when you are simply drawing shapes- just capture the pose and the movement. When you start fleshing out your figures you can adjust your drawing as many times as necessary by moving the paper, correcting lines and improving shapes. You can also elongate your figures to 10 heads in this stage if you wish so. Practice will make blocking your shapes much quicker and fleshing out more professional so don't forget to practice every day.
Join our list
Subscribe to our mailing list and get interesting stuff and updates to your email inbox.
Thank you for subscribing.
Something went wrong.
We respect your privacy and take protecting it seriously
How Many Heads High Is a Fashion Figure Drawing
Source: https://www.fashionistasketch.com/draw-fashion-figures/
0 Response to "How Many Heads High Is a Fashion Figure Drawing"
Post a Comment